Phillip from Maliburacing.com was kind enough to let us use his awesome install article for our G-Body customers reference.
Please note: The color of this crossmember is for photo purposes only. All G Force Crossmembers are finished in black powder coat. This article was written somewhere around 2002. Each G Force Crossmember now comes with a complete set of installation instructions.
You can also view our G-Body video or the Tech Tips section of this website for further information on your G-Body install.
G Force Performance Crossmember Installation
|
This tech article details the installation of my new G Force Performance crossmember. I have to say that I am VERY pleased with it. It came with all necessary hardware to install it. It included clear instructions. It is definitely a heavy duty piece and looks great.
Please excuse the underneath of my Malibu. It has seen a lot of street miles since I first completed it, and was dirtier than expected. No trailer queen here!
Click on the images to enlarge them.
|
|
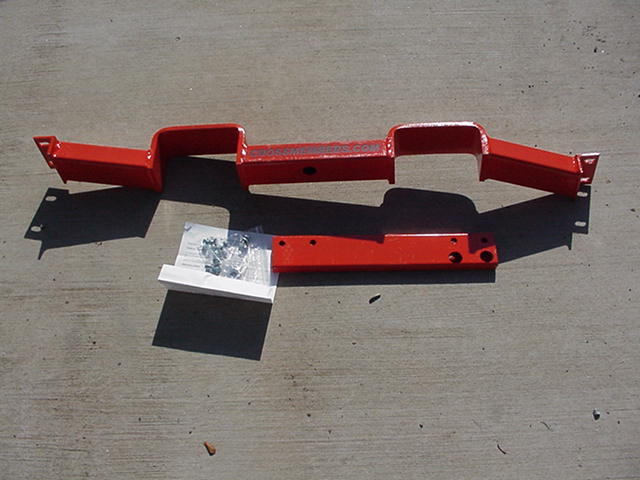
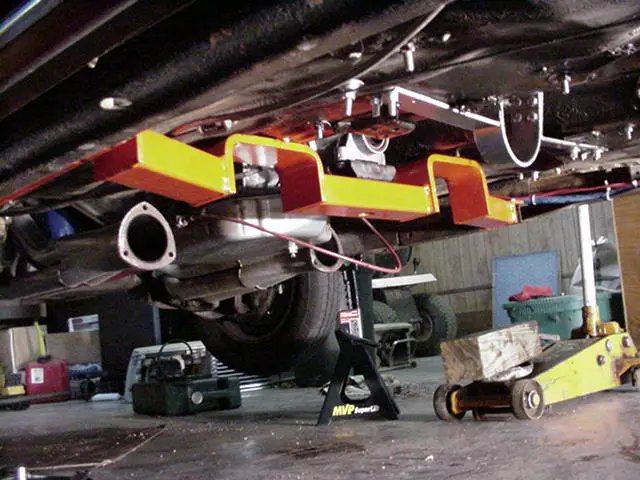
Here's the old crossmember. It's a hacked-up job I done to fit the TH400 into the Malibu. It worked well for the few years I had it in the Malibu. Notice the dual exhaust modification and the transmission mounting pad I fabricated out of flat steel. It had to be moved to the rear side of the crossmember to mount the TH400.
|
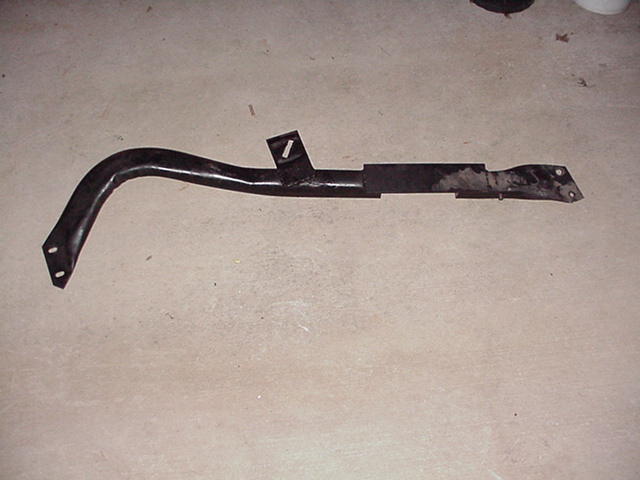
Here's what you get with the TH400 installation into a pre-84 G-body. It comes with the crossmember, frame extension, fasteners, template and instructions.
|
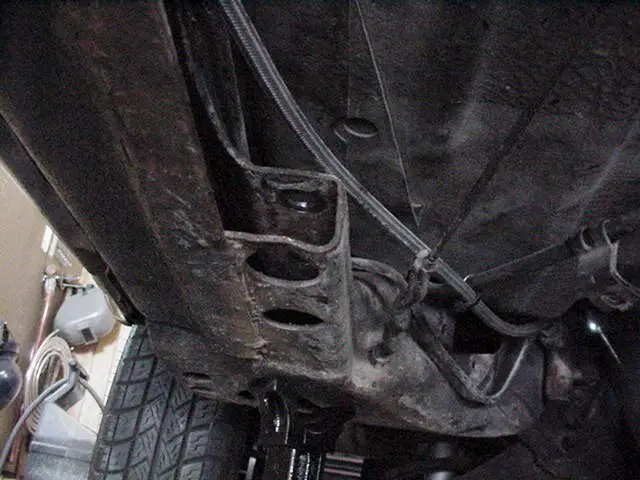
The pre-84 (and in some cases '85) G-bodies have a shorter frame extension for crossmember mounting. The later models were available with the 2004R transmission, so they had longer frame mounts for the crossmember. Here is a shot of the frame section that needs to be extended in order to install the G Force crossmember.
|
|
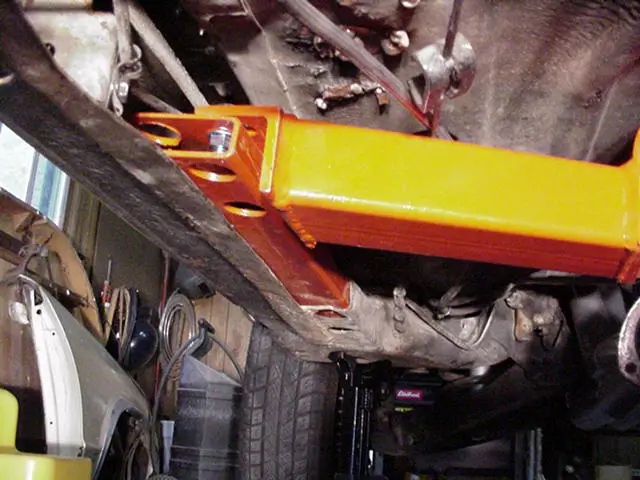
The frame extension is a really slick way to cure the pre-84 mounting problem. It simply slides into the frame rail, and has bolt holes to bolt it into place in the existing factory holes. Later, you drill two small 1/2" holes in the framerail near the rear of the extension to securely mount it to the frame. Note: you may have to move or slightly relocate (bend) the fuel vapor return line. No biggie for me since I had already removed mine. Very nice.
|
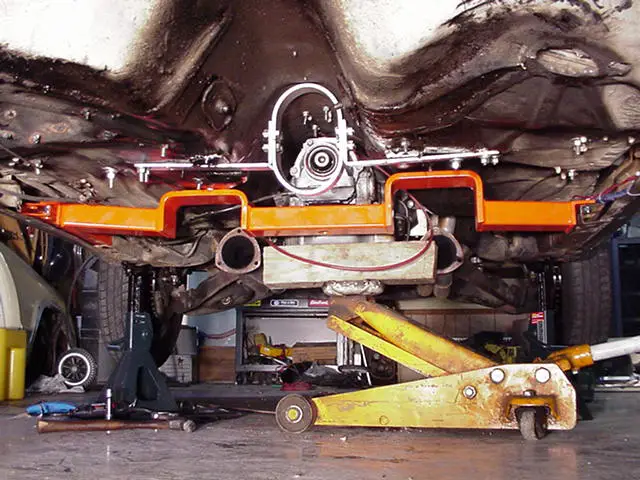
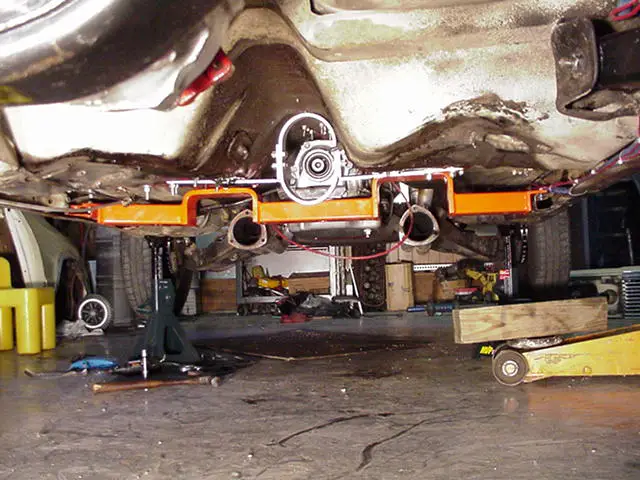
Next, you slide the crossmember into place. Goes in pretty easy, and fits great. Everything lined up without much trouble at all.
|
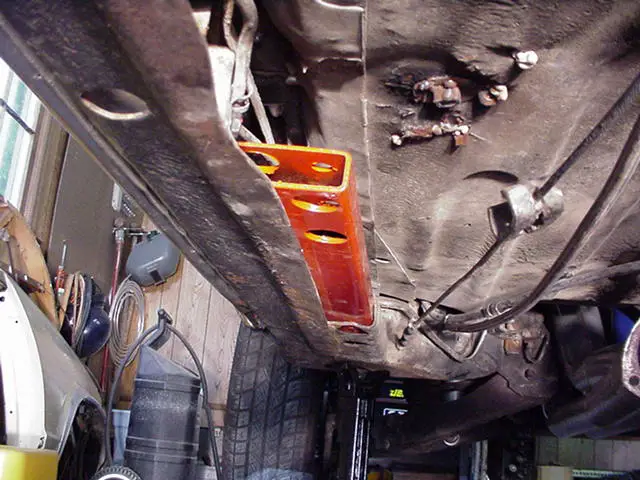
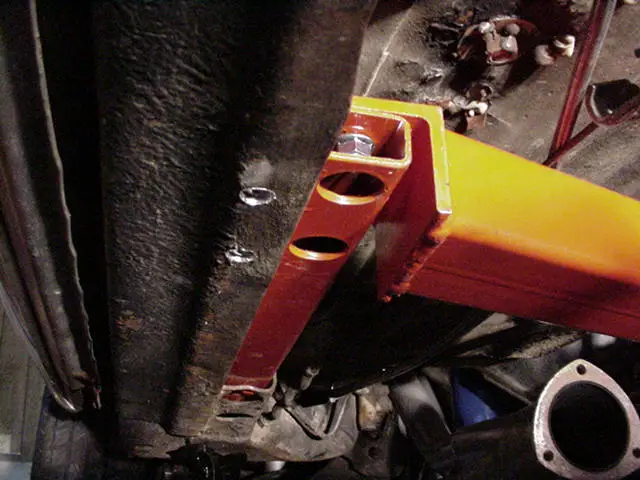
Here's where the frame extension on the driver's side comes into play. As you can see here, it is a nice fit. All bolts are put into place and finger tightened to make sure everything lines up properly before final tightening.
|
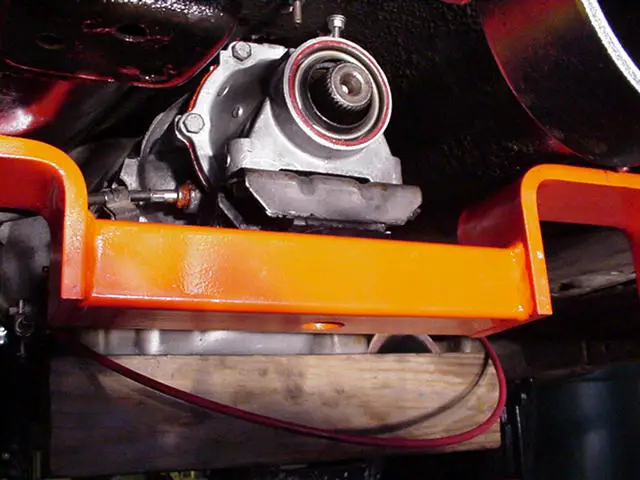
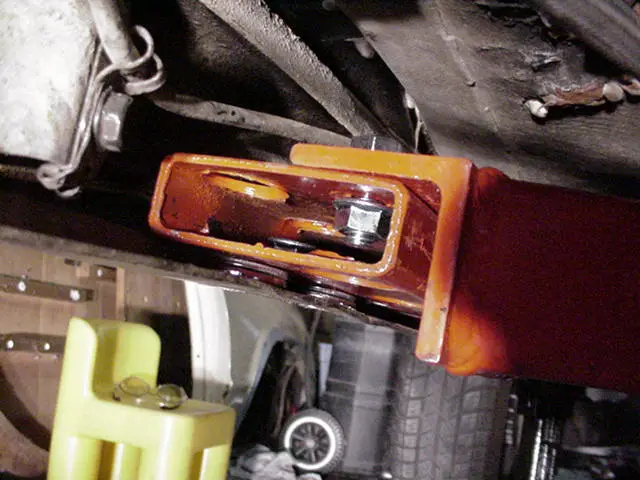
Here's the transmission mount. It fits perfectly and looks great. You have a large hole in the bottom to install the nut with a socket.
|
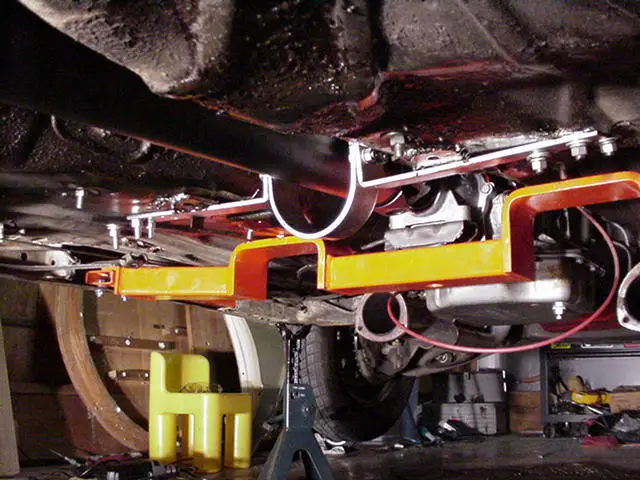
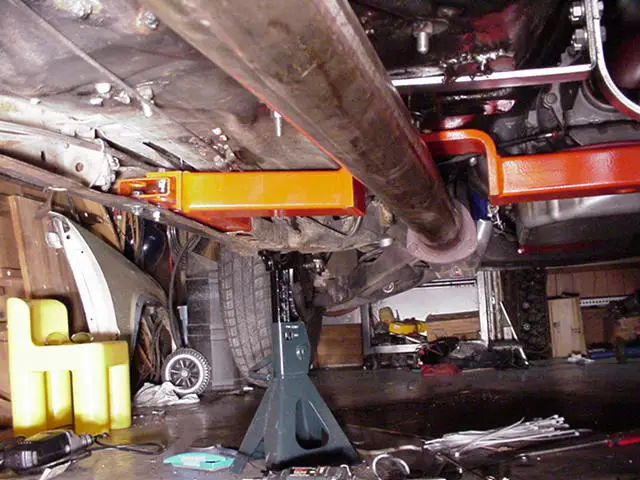
OK, everything is lined up and tightened down. I removed the floor jack, and the transmission is resting on the crossmember.
|
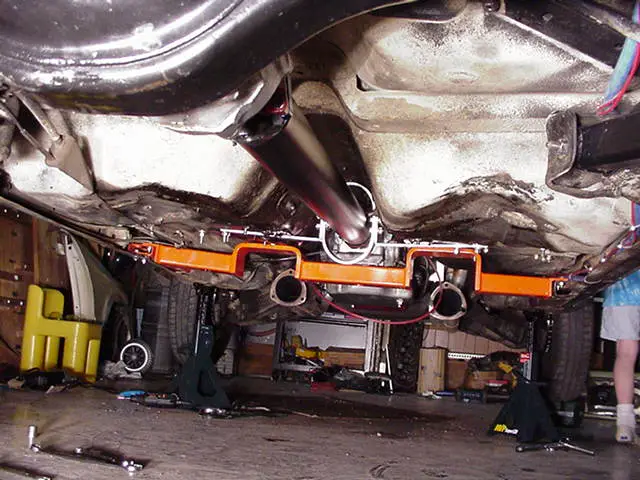
Here's the rear view of the crossmember after it has been bolted into place. Note that my shifter cable is hanging down. I had to re-route it to where it rests on top of the crossmember on each side of the transmission mount area.
|
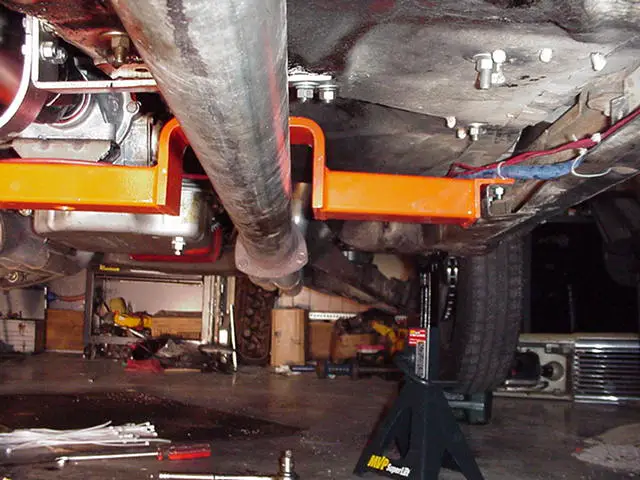
Next step is to re-install the driveshaft. Note that it is a 3.5" diameter shaft and it is TIGHT around the driveshaft safety loop.
|
Close-up of the driveshaft, safety loop, and crossmember.
|
Here is where I used the supplied template to drill the two holes into the frame to securely mount the rear part of the extension. This was the hardest part, but drilling two holes isn't too difficult!
|
Since the framerail has a slight drop on the inside, you have to use some shims that come with the kit between the extension and framerail where the bolts pass through.
|
Here's the driver side exhaust pipe. It is a 3" pipe, and has PLENTY of room!
|
Same for the passenger side. There's plenty of room for a bigger pipe.
|
|
Learn more about a G Force
crossmember.